
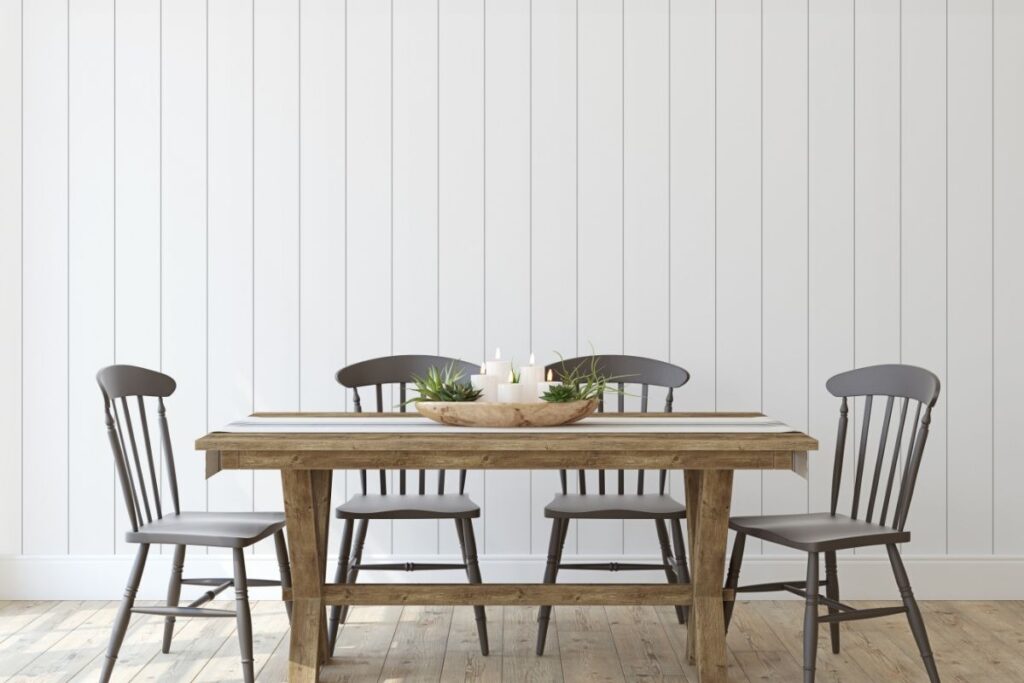
A farmhouse dining table brings warmth and character to a room in a way that most store-bought sets can’t match. The thick tabletop, chunky legs, and slightly rustic finish give it a timeless look that fits both older homes and newer builds.
This guide walks you through building your own farmhouse dining table from start to finish. You’ll get a full materials list, the tools you need, and a clear step-by-step process suited to an intermediate DIY skill level.
By the end, you’ll have a solid, handcrafted table built to handle years of family dinners, along with the finishing knowledge to keep it looking great over time.
Choosing the Right Wood for Your Farmhouse Table
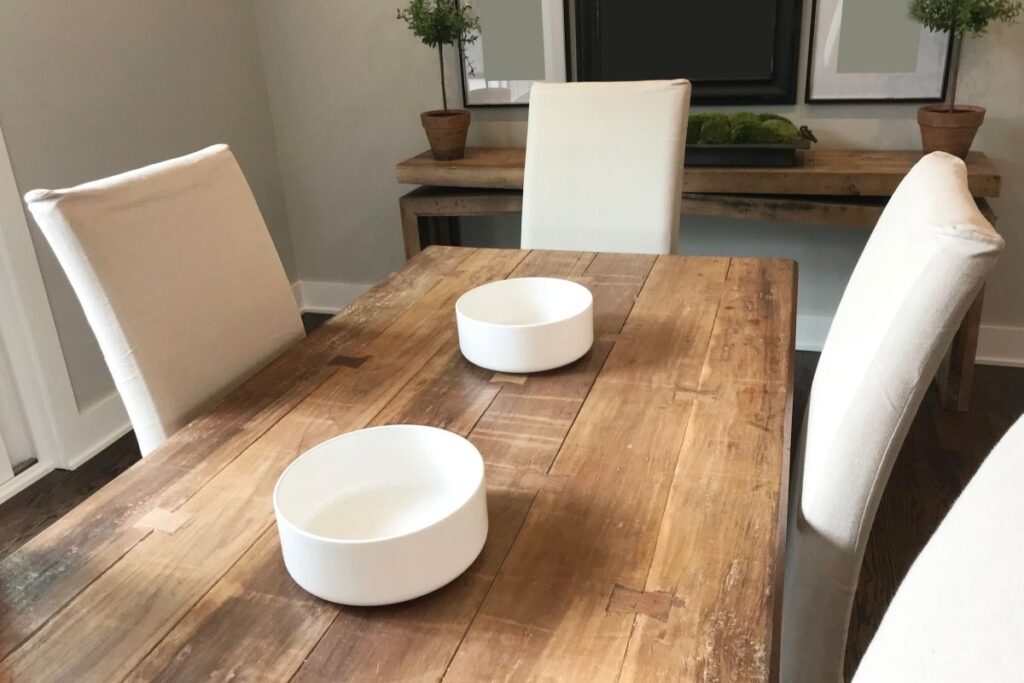
The classic farmhouse look depends heavily on wood choice, since the grain and color set the tone for the entire piece. Most builders lean toward woods that are affordable, easy to work with, and able to take on a slightly weathered finish.
Pine
Pine is the most common choice for farmhouse tables because it’s affordable, soft enough to distress easily, and widely available at most lumber yards. Expect to pay around $3 to $5 per board foot. It does dent more easily than hardwood, which many builders consider part of the farmhouse charm.
Douglas Fir
Douglas fir offers a warmer tone than pine along with noticeably stronger, straighter grain. It runs slightly higher in cost, typically $5 to $8 per board foot, and holds up well for tabletops that see heavy daily use.
Reclaimed Barn Wood
Reclaimed barn wood gives you an instantly authentic farmhouse look, complete with existing nail holes, saw marks, and weathering. Prices vary widely, often $6 to $15 per board foot depending on availability in your area. Plan on extra prep time to clean and de-nail the boards before building.
Oak
Oak is a heavier, more expensive option, usually $7 to $10 per board foot, but it delivers serious durability and a pronounced grain pattern. It’s a strong pick if you want the farmhouse style with the sturdiness of a hardwood table built to last generations.
Tools You’ll Need
Having your tools ready before you start keeps the build moving and saves you from stopping mid-project for a hardware run. Most of these are standard shop tools you may already own.
A circular saw or table saw handles the main cuts on your tabletop boards and apron pieces. A miter saw gives you clean angled cuts for the legs and any decorative trim. A planer or hand plane helps flatten reclaimed or rough-sawn boards before assembly.
For joinery, a pocket hole jig lets you build strong, hidden connections between the aprons and legs. A drill and driver set handles both pilot holes and final assembly. Bar clamps, ideally four or more in the 24 to 36 inch range, hold your tabletop boards flat and tight while the glue sets.
For finishing, you’ll want exterior or interior wood stain depending on the table’s final home, along with sandpaper in 100, 150, and 220 grit. A wire brush is useful if you’re going for a distressed, hand-worn look on the surface.
Step-by-Step Process to Build Your Farmhouse Dining Table
This project sits at an intermediate difficulty level and typically takes one full weekend, around 10 to 14 hours of active work between cutting, assembly, and finishing. Materials generally run $200 to $500 depending on wood species and table size.
Step 1: Plan Your Dimensions
A standard farmhouse dining table measures 72 to 84 inches long, 36 to 40 inches wide, and 30 inches tall. Sketch out your leg style and apron placement before cutting so you know exactly how many boards you need.
Step 2: Build the Tabletop
Cut your tabletop boards to length and lay them side by side to check the grain pattern and color match. Glue and clamp the boards together, then reinforce the underside with breadboard ends or cross supports to prevent warping.
Step 3: Cut and Shape the Legs
Cut four thick legs, typically 4 by 4 inches, to a length of about 28 inches to account for the tabletop thickness. Many farmhouse designs taper the legs slightly near the bottom, which you can do with a taper jig on a table saw.
Step 4: Assemble the Base
Connect the legs to the aprons using pocket holes and exterior-rated wood glue, forming a sturdy rectangular frame. Add a center stretcher running the length of the table if it’s longer than 66 inches, since this prevents sagging over time.
Step 5: Attach the Tabletop
Secure the tabletop to the base using figure-8 fasteners or wood screws through elongated holes in the aprons. This lets the tabletop expand and contract naturally with humidity changes without cracking the joints.
Step 6: Distress and Finish
If you want the classic farmhouse look, lightly distress the surface with a chain, hammer, or wire brush before staining. Apply two to three coats of stain or finish, sanding lightly between coats for a smooth, even result.
Farmhouse Style Variations
The farmhouse look has plenty of room for personal touches, and small design choices can shift the table toward a more rustic or more refined feel. A few common variations give you a starting point for your own build.
Trestle Base Farmhouse
Instead of four individual legs, a trestle base uses two solid end supports connected by a thick center beam. This style offers extra legroom and a striking visual anchor at each end of the table.
X-Base Farmhouse
An X-shaped base adds a bit of visual interest while keeping the structure lightweight. It works especially well with a lighter wood tone and pairs nicely with mixed dining chairs.
Turned Leg Farmhouse
Turned legs bring a slightly more traditional, cottage-style feel to the farmhouse silhouette. They pair well with a painted base and a natural wood tabletop for contrast.
Maintenance Tips to Keep Your Table Looking Great
A farmhouse table is built to age well, but a bit of regular care keeps it looking its best and prevents unnecessary damage. Wipe up spills quickly, since standing liquid can leave rings or dark spots on unsealed wood.
Reapply a coat of finish or wax once a year for tables that see heavy daily use. Use coasters and placemats for hot dishes and acidic foods to protect the surface from staining.
Avoid dragging chairs or heavy items across the tabletop, since this can scratch through the finish. If you notice small dents or scuffs building up, a light sanding and a fresh coat of finish will bring the table back to life.
Frequently Asked Questions
What wood is best for a farmhouse dining table? Pine is the most popular choice for its affordability and ability to take on a distressed finish, though Douglas fir and oak offer more durability for tables that see heavy daily use.
How long does it take to build a farmhouse table? Most intermediate builders finish in one weekend, roughly 10 to 14 hours of active work, with additional time needed for stain or finish to fully cure.
How much does it cost to build one? Expect to spend between $200 and $500 in materials, which is considerably less than comparable retail farmhouse tables that often run $800 to $2,000.
Can a farmhouse table be used outdoors? Standard farmhouse tables are built for indoor use, but you can adapt the design for outdoor use by choosing a weather-resistant wood like cedar or teak and applying an exterior sealant.
How do I get the distressed farmhouse look? Light distressing with a chain, hammer, or wire brush before staining creates the worn, aged appearance associated with the farmhouse style.
Final Thoughts
Building your own farmhouse dining table gives you a sturdy, character-filled centerpiece for your dining room at a fraction of retail cost. With the right wood, a clear plan, and a solid weekend of work, you can create a table built to gather family and friends around for years.
Start by choosing the wood species that fits your budget and desired look, then work through the build one step at a time. Once it’s finished, a simple yearly maintenance routine will keep your table looking as good as the day you built it.