
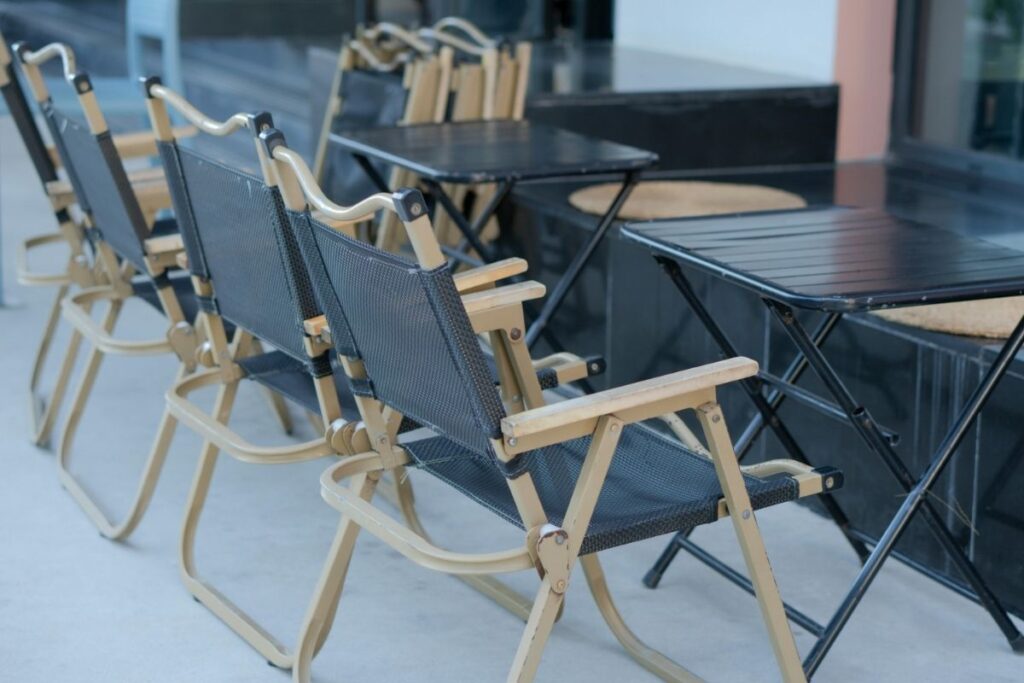
A folding table only earns its keep if it actually folds well, and the mechanism you choose affects nearly everything about the finished piece. It shapes how sturdy the table feels in use, how much space it takes up when stored, and how much hardware you’ll need to source before you start building.
This guide organizes folding table ideas around the mechanism behind each one, since that’s really the core decision for this type of project. You’ll also find guidance on choosing the right mechanism for your needs and the hardware each design calls for.
Wall-Mounted Drop-Leaf Folding Table
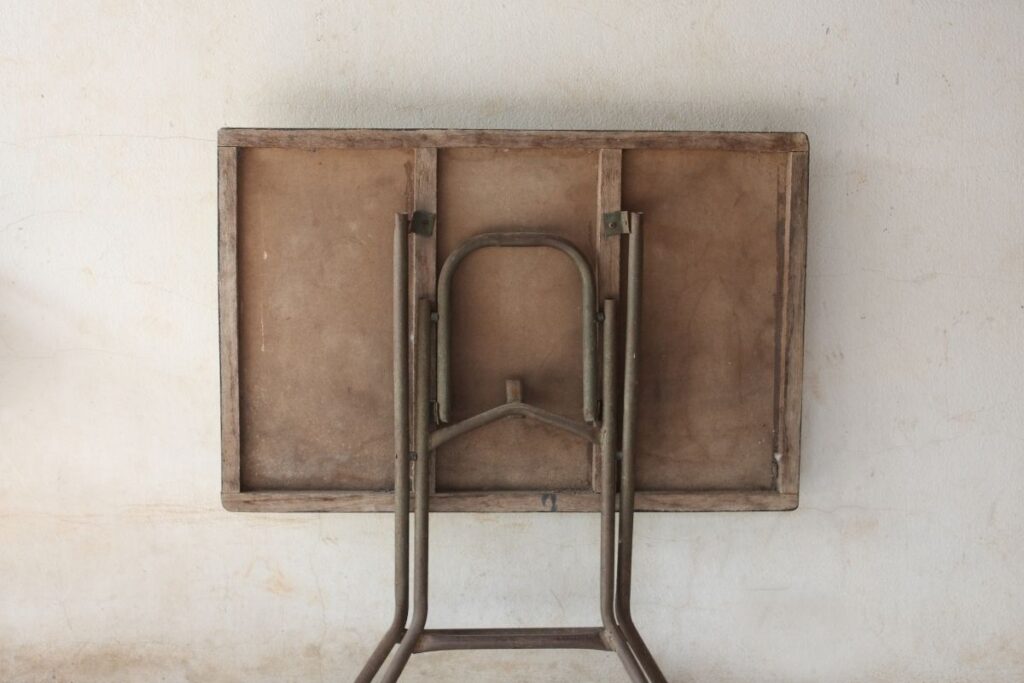
This design hinges directly to the wall, folding completely flat when not in use and swinging down into a full tabletop when needed. It’s an excellent choice for garages, laundry rooms, or craft spaces where floor space is limited.
A simple piano hinge along the back edge, paired with a folding support bracket or hinged leg underneath, handles the mechanical side of this build. Plywood or MDF works well for the tabletop itself, generally running $3 to $5 per board foot, and this project rates as beginner-friendly at around 4 to 6 hours of build time.
Hinged-Leg Folding Table
This is the classic folding table style, with four legs that fold flat against the underside of the tabletop for storage. It’s the most familiar design and works well as a general-purpose table for events, extra seating, or temporary workspaces.
Premade folding leg hardware, widely available at hardware stores, simplifies this build significantly compared to building a custom hinge mechanism. Pine or plywood keeps material costs around $4 to $7 per board foot, and this project rates as beginner to intermediate, taking about 6 to 8 hours.
X-Frame Collapsible Folding Table
Borrowing from classic camp table design, this mechanism uses a scissor-style X-frame base that collapses inward for compact storage and transport. It’s a strong option if portability matters more than a completely flat storage profile.
Building the X-frame requires precise pivot points, typically using carriage bolts as the hinge points at each crossing, along with a locking brace to hold the frame open during use. This project rates as intermediate, taking 8 to 10 hours, with materials generally costing $60 to $120.
Tray-Style Folding Table
This design uses a piano hinge running down the center of the tabletop itself, allowing the entire surface to fold in half for the most compact storage option of the four. It works particularly well for smaller tables meant for crafts, laptops, or occasional dining use.
Because the fold runs through the tabletop rather than just the legs, this design calls for careful reinforcement along the hinge line to prevent sagging at the center. This project rates as intermediate to advanced, taking 8 to 12 hours, with material costs around $50 to $100 for a smaller-scale build.
Choosing the Right Mechanism for Your Needs
If floor space is your biggest concern, the wall-mounted drop-leaf design offers the smallest storage footprint since the whole table disappears against the wall. For portability between locations, the X-frame collapsible design is generally the easiest to carry and set up repeatedly.
The hinged-leg design remains the most familiar and forgiving option if this is your first folding table project, since premade hardware handles most of the mechanical complexity. The tray-style fold works best when floor storage space is tight but you still need a table that can move between rooms rather than staying wall-mounted.
Tools and Hardware for Folding Mechanisms
Across these designs, a drill and driver handle most of the assembly, while a circular saw or table saw manages the main cuts. Piano hinges, folding leg brackets, and locking braces are the main specialty hardware pieces, all commonly available at hardware stores or through online woodworking suppliers.
Carriage bolts work well for any pivot points that need to hold up to repeated folding and unfolding, since they resist loosening better than standard wood screws in that application. A level and a square are also worth keeping on hand to make sure the table sits flat and even once fully unfolded.
Frequently Asked Questions
What’s the easiest DIY folding table to build? A hinged-leg folding table is generally the most beginner-friendly, since premade folding leg hardware handles most of the mechanical difficulty.
Which folding table design takes up the least storage space? A wall-mounted drop-leaf table takes up the least floor space, since it folds completely flat against the wall when not in use.
Are X-frame folding tables sturdy enough for regular use? Yes, as long as the pivot points are built with carriage bolts and a proper locking brace, an X-frame table can hold up well to regular use and transport.
Can a folding table fold in the middle of the tabletop itself? Yes, a tray-style design uses a piano hinge running through the center of the top, though it requires extra reinforcement to prevent sagging at the fold line.
What hardware do I need for a folding table leg? Premade folding leg brackets are the simplest option, available at most hardware stores, and they eliminate the need to build a custom hinge mechanism from scratch.
Final Thoughts
The right DIY folding table idea comes down to how and where you plan to use it, whether that’s a garage workspace that needs to disappear against the wall or a portable table you’ll transport between locations. Choose the mechanism that fits your actual routine first, then build the rest of the design around it.
Whichever style you build, solid hardware at the pivot points will matter more than anything else in keeping the table sturdy over years of folding and unfolding.