
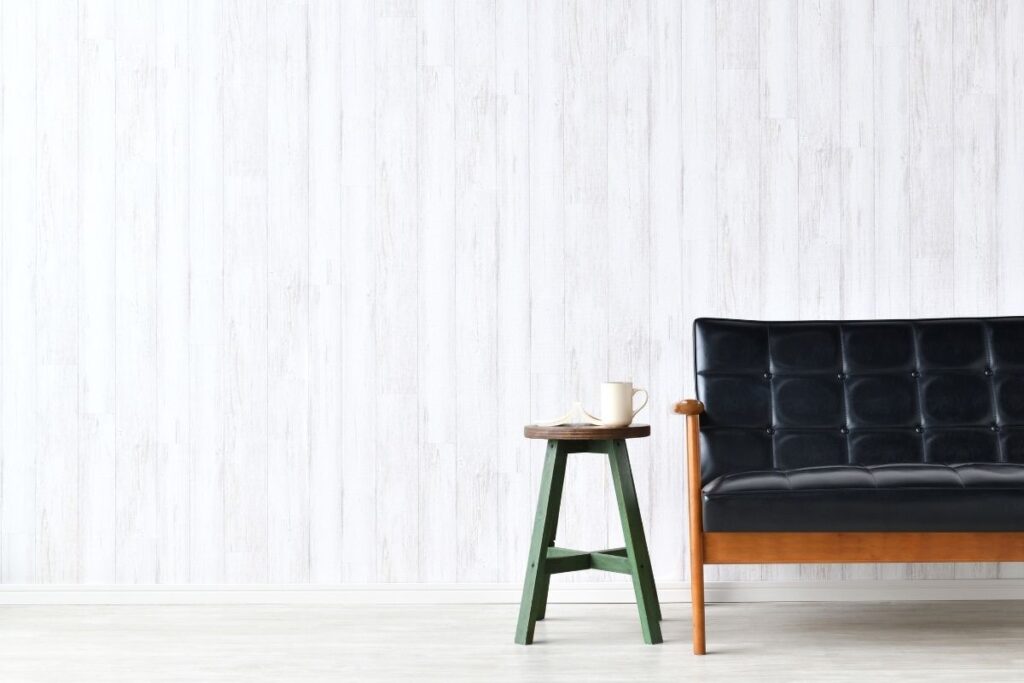
A side table is one of the most practical small furniture pieces to build, whether you need something quick for a reading nook or a more involved project to sharpen your woodworking skills. Because the scale is small, side tables are also a great way to practice new techniques without a huge investment in materials.
This guide organizes a range of DIY side table projects by skill level, starting with simple beginner builds and working up to more advanced joinery-focused designs. You’ll also find guidance on tools and how to pick the right project for where you’re at.
Beginner-Friendly Side Table Projects
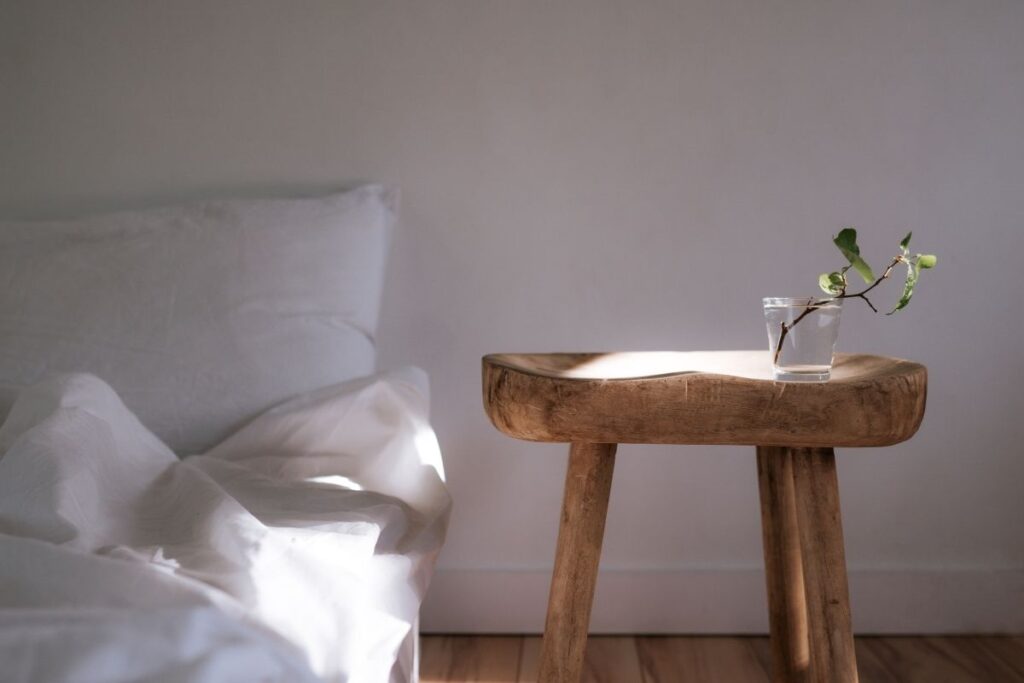
These projects rely on straightforward cuts and simple assembly methods, making them a solid entry point if you’re new to building furniture. Most can be completed in an afternoon with basic tools.
Two-Board X Table
This design uses just two crossed boards as the base, topped with a small round or square surface. It requires only a few angled cuts and basic screws, making it one of the fastest beginner builds available.
Crate Side Table
A single wooden crate, either purchased or built from simple butt joints, doubles as both a side table and built-in storage. Add short furniture legs underneath to bring it up to a standard 20 to 24 inch side table height.
Tray-Top Side Table
This project pairs a simple four-leg frame with a removable tray top, giving you a table that also functions as a serving piece. Pocket holes and a basic drill are really all you need to put this one together.
Intermediate Side Table Projects
Once you’re comfortable with basic assembly, these projects introduce a bit more complexity in either the base structure or the top surface. Expect a full weekend of work rather than a single afternoon.
Nesting Side Tables
Building two or three tables of graduated sizes that slide underneath one another takes more careful measuring to get the proportions right. This project is a great way to practice consistent, repeatable joinery across multiple pieces.
Turned Leg Side Table
Adding lathe-turned legs brings a more refined, furniture-store look to a side table build. If you don’t have access to a lathe, premade turned legs are widely available and let you focus on the tabletop and joinery instead.
Herringbone Top Side Table
Cutting and arranging small wood strips into a herringbone pattern for the tabletop adds visual interest and requires more precise, consistent angles than a standard flat top. This project works well as practice before attempting herringbone patterns on larger furniture pieces.
Advanced Side Table Projects
These builds call for more specialized tools and a higher level of comfort with precise joinery. They’re a great way to push your skills once you’ve built a few simpler tables successfully.
Live Edge Side Table
Working with a live edge slab means accounting for natural curves and irregular thickness throughout the build. This project often requires a slab flattening jig or router sled to get an even surface before attaching a base.
Mortise-and-Tenon Joined Table
Building the leg-to-apron connections using traditional mortise-and-tenon joinery results in an exceptionally strong, furniture-grade table. This method takes more time and precision than pocket holes, but it produces joints that can last for generations.
Curved or Bent Wood Table
Steam bending or laminating thin strips of wood into a curved leg or base design is one of the more technically demanding side table projects. It requires specialized equipment like a steam box or vacuum bag press, along with a good amount of practice on scrap material first.
Materials and Tools Across Skill Levels
Beginner projects generally only need a drill, a saw, and basic clamps, along with pine, plywood, or pre-cut crates as your main material. As you move into intermediate builds, a pocket hole jig, a miter saw, and premade turned legs become more useful additions to your shop.
Advanced projects often call for more specialized equipment, including a router sled for flattening slabs, a lathe for custom turned legs, or a steam box for bent wood designs. Hardwoods like walnut, oak, and maple also become more common at this level, both for their strength and their finished appearance.
Tips for Picking the Right Project for Your Skill Level
Choose a project that pushes you slightly beyond your current comfort zone without requiring tools or techniques you’ve never touched before. If you’ve never used a pocket hole jig, for example, an intermediate nesting table is a better next step than jumping straight to mortise-and-tenon joinery.
Building a couple of simpler tables first also gives you a chance to practice measuring, squaring, and finishing before tackling a more complex design. These fundamentals matter just as much as the joinery method once you move into harder projects.
Frequently Asked Questions
What is the easiest DIY side table to build? The two-board X table is typically the fastest and simplest option, since it only requires a few angled cuts and basic screws to assemble.
How much does it cost to build a DIY side table? Beginner projects usually cost $20 to $60 in materials, while intermediate and advanced builds using hardwood or specialty legs can run $75 to $200 or more.
Do I need a lathe to build a turned leg table? No, premade turned legs are widely available and let you skip the lathe while still getting the same finished look.
What tools are needed for a live edge side table? A router sled or slab flattening jig is the main specialized tool needed, in addition to standard saws, sanders, and clamps.
How long does an intermediate side table project take? Most intermediate builds take a full weekend, roughly 8 to 12 hours of active work, depending on the specific design.
Final Thoughts
DIY side tables offer a great way to build your woodworking skills gradually, from quick beginner projects to advanced joinery-focused builds. Start with a design that matches your current comfort level, and let each finished table prepare you for the next challenge.
As your skills grow, you’ll find that side tables remain a useful, low-commitment way to practice new techniques before applying them to larger furniture pieces.