
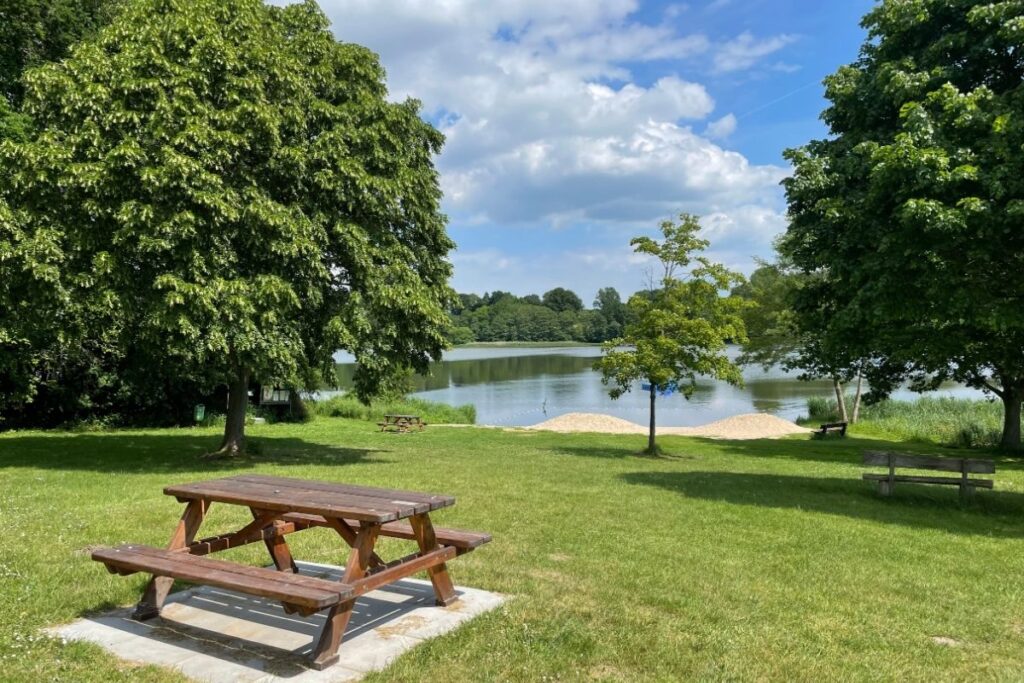
A picnic table is one of the most useful pieces you can add to a backyard, and building your own costs a fraction of what you’d pay at a garden center. It’s also a great project if you’re newer to woodworking, since the joinery stays simple throughout.
This guide covers the main picnic table styles to choose from, the materials and cost involved, and a full walkthrough for building a classic A-frame version from start to finish. You’ll also find finishing tips to keep it holding up outdoors for years.
Grab your materials list and set aside a weekend, and you’ll have a table ready for your next backyard gathering.
Picnic Table Styles to Choose From
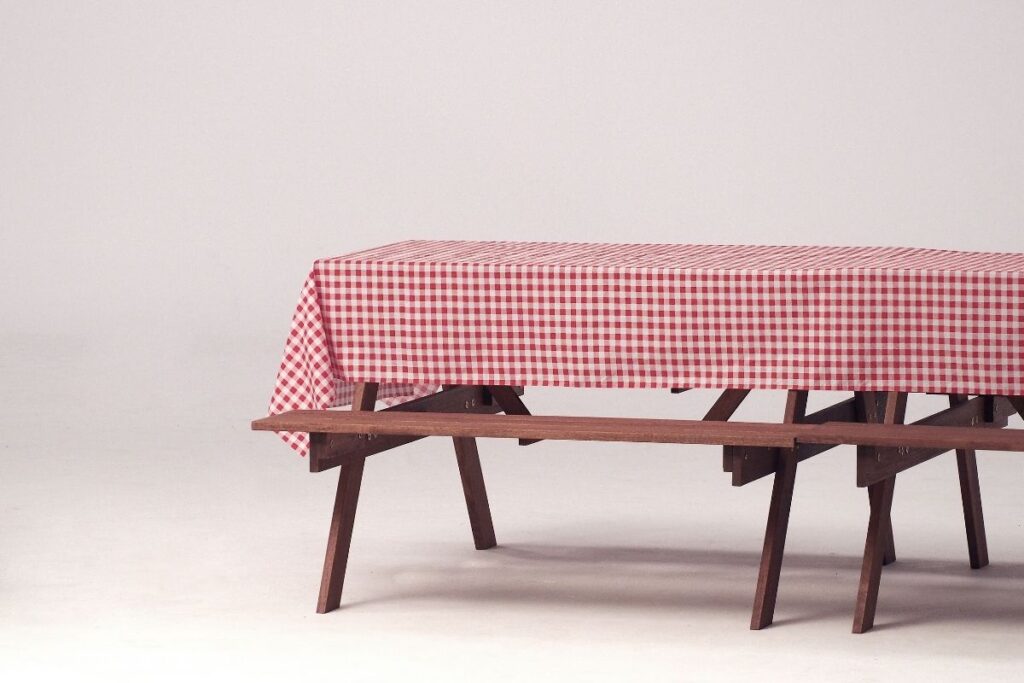
Before you start cutting wood, it helps to know which style you’re building toward, since the leg structure changes depending on the design. Each style has its own tradeoffs in stability, seating comfort, and build difficulty.
A-Frame Picnic Table
The A-frame is the most recognizable picnic table style, with angled legs that form a triangle shape on each end. It’s sturdy, relatively simple to build, and the design this guide focuses on.
Traditional Attached Bench Picnic Table
This style keeps the benches permanently connected to the tabletop frame using a straight leg design rather than angled supports. It’s a bit more material-efficient but slightly less forgiving if your measurements are off.
Detached Bench Picnic Table
Here the benches are built as separate pieces that sit near the table rather than attaching to it. This version gives you more flexibility for seating arrangements, though it takes more lumber overall since each bench needs its own leg structure.
Materials and Cost Breakdown
A picnic table build calls for dimensional lumber, exterior fasteners, and a finish suited to outdoor exposure. Budgeting for materials ahead of time keeps your project on track and helps you avoid mid-build surprises.
Wood Options
Pressure-treated pine is the most common and affordable choice, usually running $2 to $4 per board foot, and it’s already rated for ground contact and moisture exposure. Cedar costs a bit more, around $4 to $7 per board foot, but resists rot naturally and skips the chemical treatment smell. Redwood is a pricier option in some regions, often $6 to $9 per board foot, and offers similar natural durability with a warmer color.
Hardware and Fasteners
Stick with stainless steel or exterior-coated deck screws throughout the build, since standard interior hardware rusts quickly outdoors. You’ll also want exterior wood glue for the tabletop seams and carriage bolts if you’re securing the angled A-frame legs for extra strength.
Altogether, most builders spend between $100 and $250 on a full picnic table, depending on wood choice and table size. This project rates as beginner to intermediate in difficulty and takes most people 6 to 10 hours spread across a single weekend.
Building the Tabletop and Benches
The tabletop and two bench seats use the same basic construction method, just at different widths. Building them together first makes the rest of the assembly go faster.
Cutting the Boards
A standard picnic tabletop measures about 30 inches wide and 72 inches long, while each bench runs about 10 to 12 inches wide and the same length as the table. Cut your boards to length, then lay them out to check spacing and grain before attaching any supports.
Spacing for Drainage
Leave a small gap, around 1/4 inch, between each board on both the tabletop and benches. This lets rainwater drain through instead of pooling on the surface, which helps the wood last longer outdoors.
Secure each board to two or three crosspieces underneath using exterior screws driven from the top down. Keep the crosspieces set in a few inches from each end so they don’t interfere with the leg assembly later.
Building the A-Frame Legs and Final Assembly
The A-frame legs give the table its signature triangular shape and most of its stability. Getting the angles right here matters more than any other part of the build.
Cut four leg boards and angle the tops and bottoms at roughly 22 degrees so they form a stable triangle when paired together. Connect each pair of legs with a crosspiece near the top and bottom, creating two matching A-frame end units.
Attach the benches to the leg assemblies at a comfortable seating height, typically around 17 to 18 inches from the ground. Finally, attach the tabletop across the top of both A-frame units, making sure everything sits level before driving your final screws.
Finishing and Weatherproofing
A picnic table faces constant sun and rain, so a proper finish is what keeps it looking good and structurally sound over time. Sand the entire table smooth once assembly is complete, working from a coarser grit up to at least 150.
Apply two coats of exterior stain or sealant, allowing full drying time between coats as directed on the product label. Plan to reapply a fresh coat every one to two years depending on your climate and how much direct sun exposure the table gets.
If winters in your area are harsh, consider moving the table into a garage or under a covered patio during the coldest months. This single habit can significantly extend the life of the wood, especially for pine and other softer species.
Frequently Asked Questions
How long does it take to build a picnic table? Most builders finish in a single weekend, around 6 to 10 hours of active work, not counting drying time for stain or sealant.
What is the best wood for a picnic table? Pressure-treated pine is the most budget-friendly and widely available option, while cedar and redwood offer better natural rot resistance at a higher price.
How much does it cost to build a picnic table? Most builds run between $100 and $250 in materials, considerably less than comparable store-bought tables in the $300 to $600 range.
What angle should picnic table legs be cut at? A-frame legs are typically cut at around 22 degrees to create a stable, triangular base on each end of the table.
Do picnic tables need to be sealed? Yes, applying an exterior stain or sealant protects the wood from sun and moisture damage, and reapplying it every one to two years keeps the table in good shape.
Final Thoughts
Building your own picnic table is a straightforward project that rewards you with a sturdy, custom piece built for years of outdoor use. Choose the style that fits your space, gather your materials, and work through the build one section at a time.
Once it’s finished, stay on top of yearly sealing and it’ll be ready for cookouts and backyard gatherings season after season.